Working with Shapes
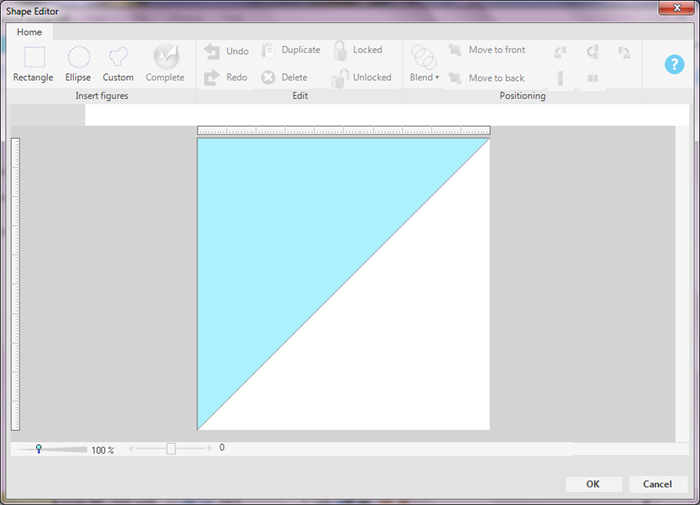
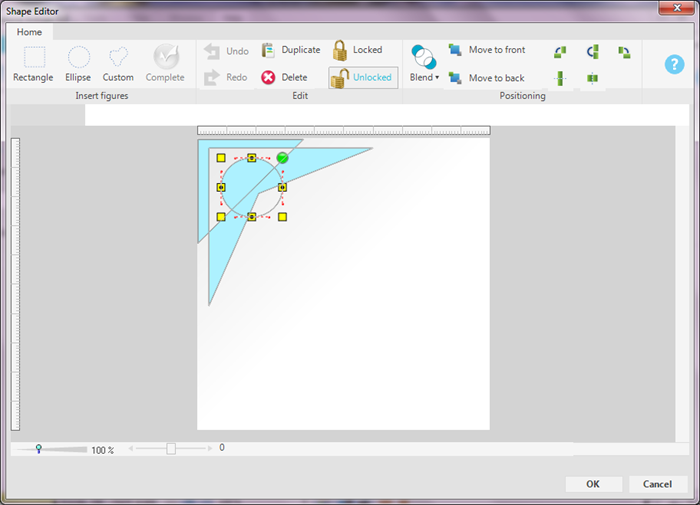
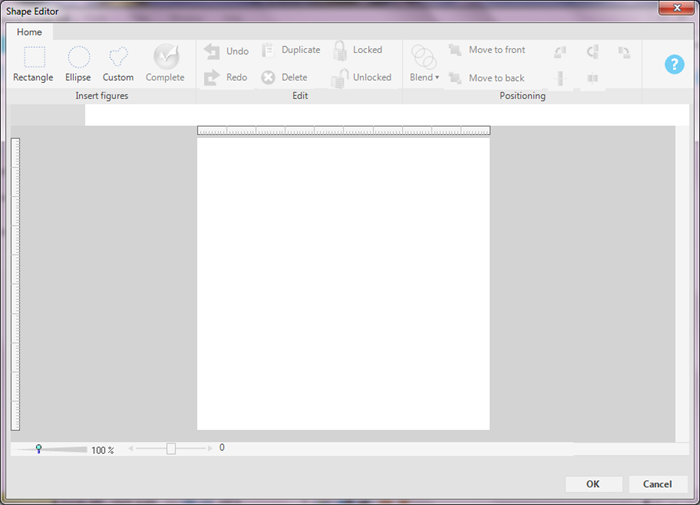
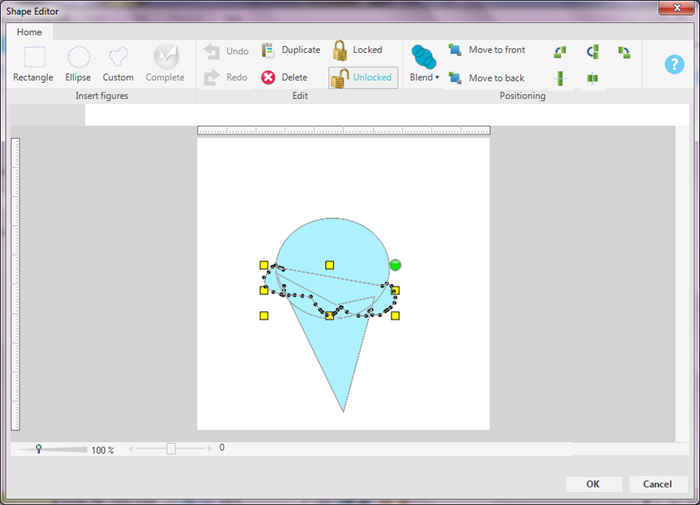
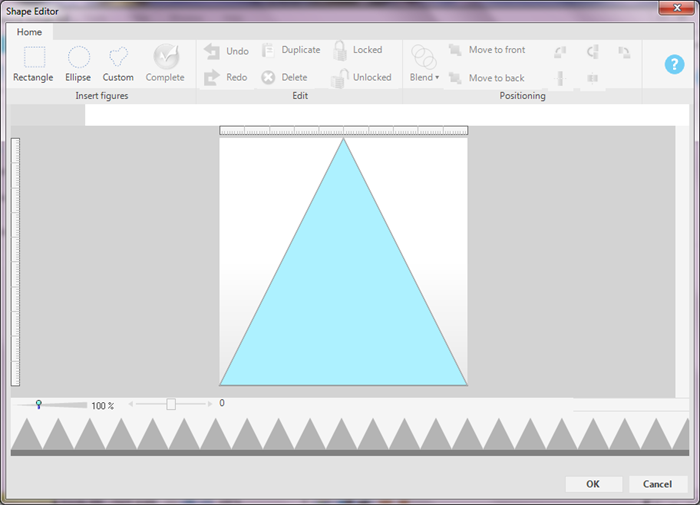
The Shape Editor is accessed when you create or edit a shape, edge, or corner. The Shape Editor Ribbon consists of 3 sections; Insert Figures, Edit, and Positioning. The tools all perform the same functions regardless of the element that you are working with. The difference is that the workspace is custom-configured for each element to help make your design process a little easier.
Inserting a Standard Shape
To access the Shape Editor to create an element:
- Open the Art Kit to which you want to create the element.
- Click Shape, Edge, or Corner on the Content Ribbon.
- Click Insert a New Shape (or edge, or corner). The Shape Editor appears.
|
Ribbon Button |
Description |
|---|---|
|
|
|
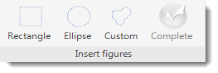
Rectangle |
Creates a rectangle in the workspace with selection handles for editing. |
| Elipse | Creates a circle in the workspace with selection handles for editing. |
| Custom | Changes the mouse pointer to a cross-hair which allows you to place "connect-the-dots" points as you draw. Also, the Complete button is activated. Just click it to finalize the shape.  |
|
Complete
|
Use with a custom shape. Click when you are finished creating dots that connect into the shape you want. |
|
|
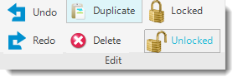
| Undo | Undo the last action. |
| Redo | Redo and action that was undone. |
| Duplicate | Creates a copy of the selected shape. |
| Delete | Deletes the selected shape. |
| Locked | Locks a shape from edits or positioning. |
| Unlocked | Unlocks a shape from edits or positioning. |
|
|
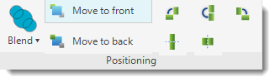
| Blend | Use with multiple shapes on the workspace. Options control how the shapes interact together to form the final shape. |
| Move to front | Use with multiple shapes. Places the selected shape in front of the others. |
| Move to back | Use with multiple shapes. Places the selected shape in back of the others. |
|
Rotate Options |
Rotates or flips the selected shape. |


- Use the appropriate Ribbon Button to create and modify your shape.
- Click OK.
Shape Editor- Create a Shape
Inserting a Shape from a Font Kit
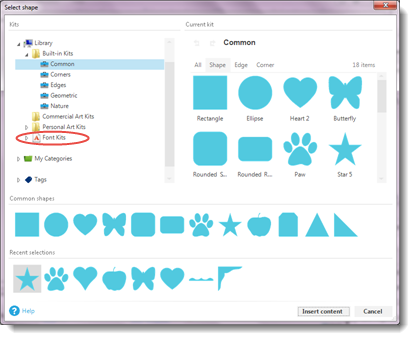
You can insert fun symbols that you may already be familiar with from working with Windows applications over the years. These symbol-shapes are stored in Font Kits (see Managing Fonts for more information on the different font kits).
- View the page you want to insert the font-symbol.

- From the Insert ribbon, Content section, click
 .
. - Click From art kit on the sub-menu.
The Content Viewer appears.
- Follow the instructions on the diagram below to find and insert your desired symbol-shape.


Note: Once your shape is placed on the page, you can decorate it with many formatting options. See Working with Colors and Fills and Working with Other Elements for more information.
Shape Editor- Create an Edge

Shape Editor- Create a Corner